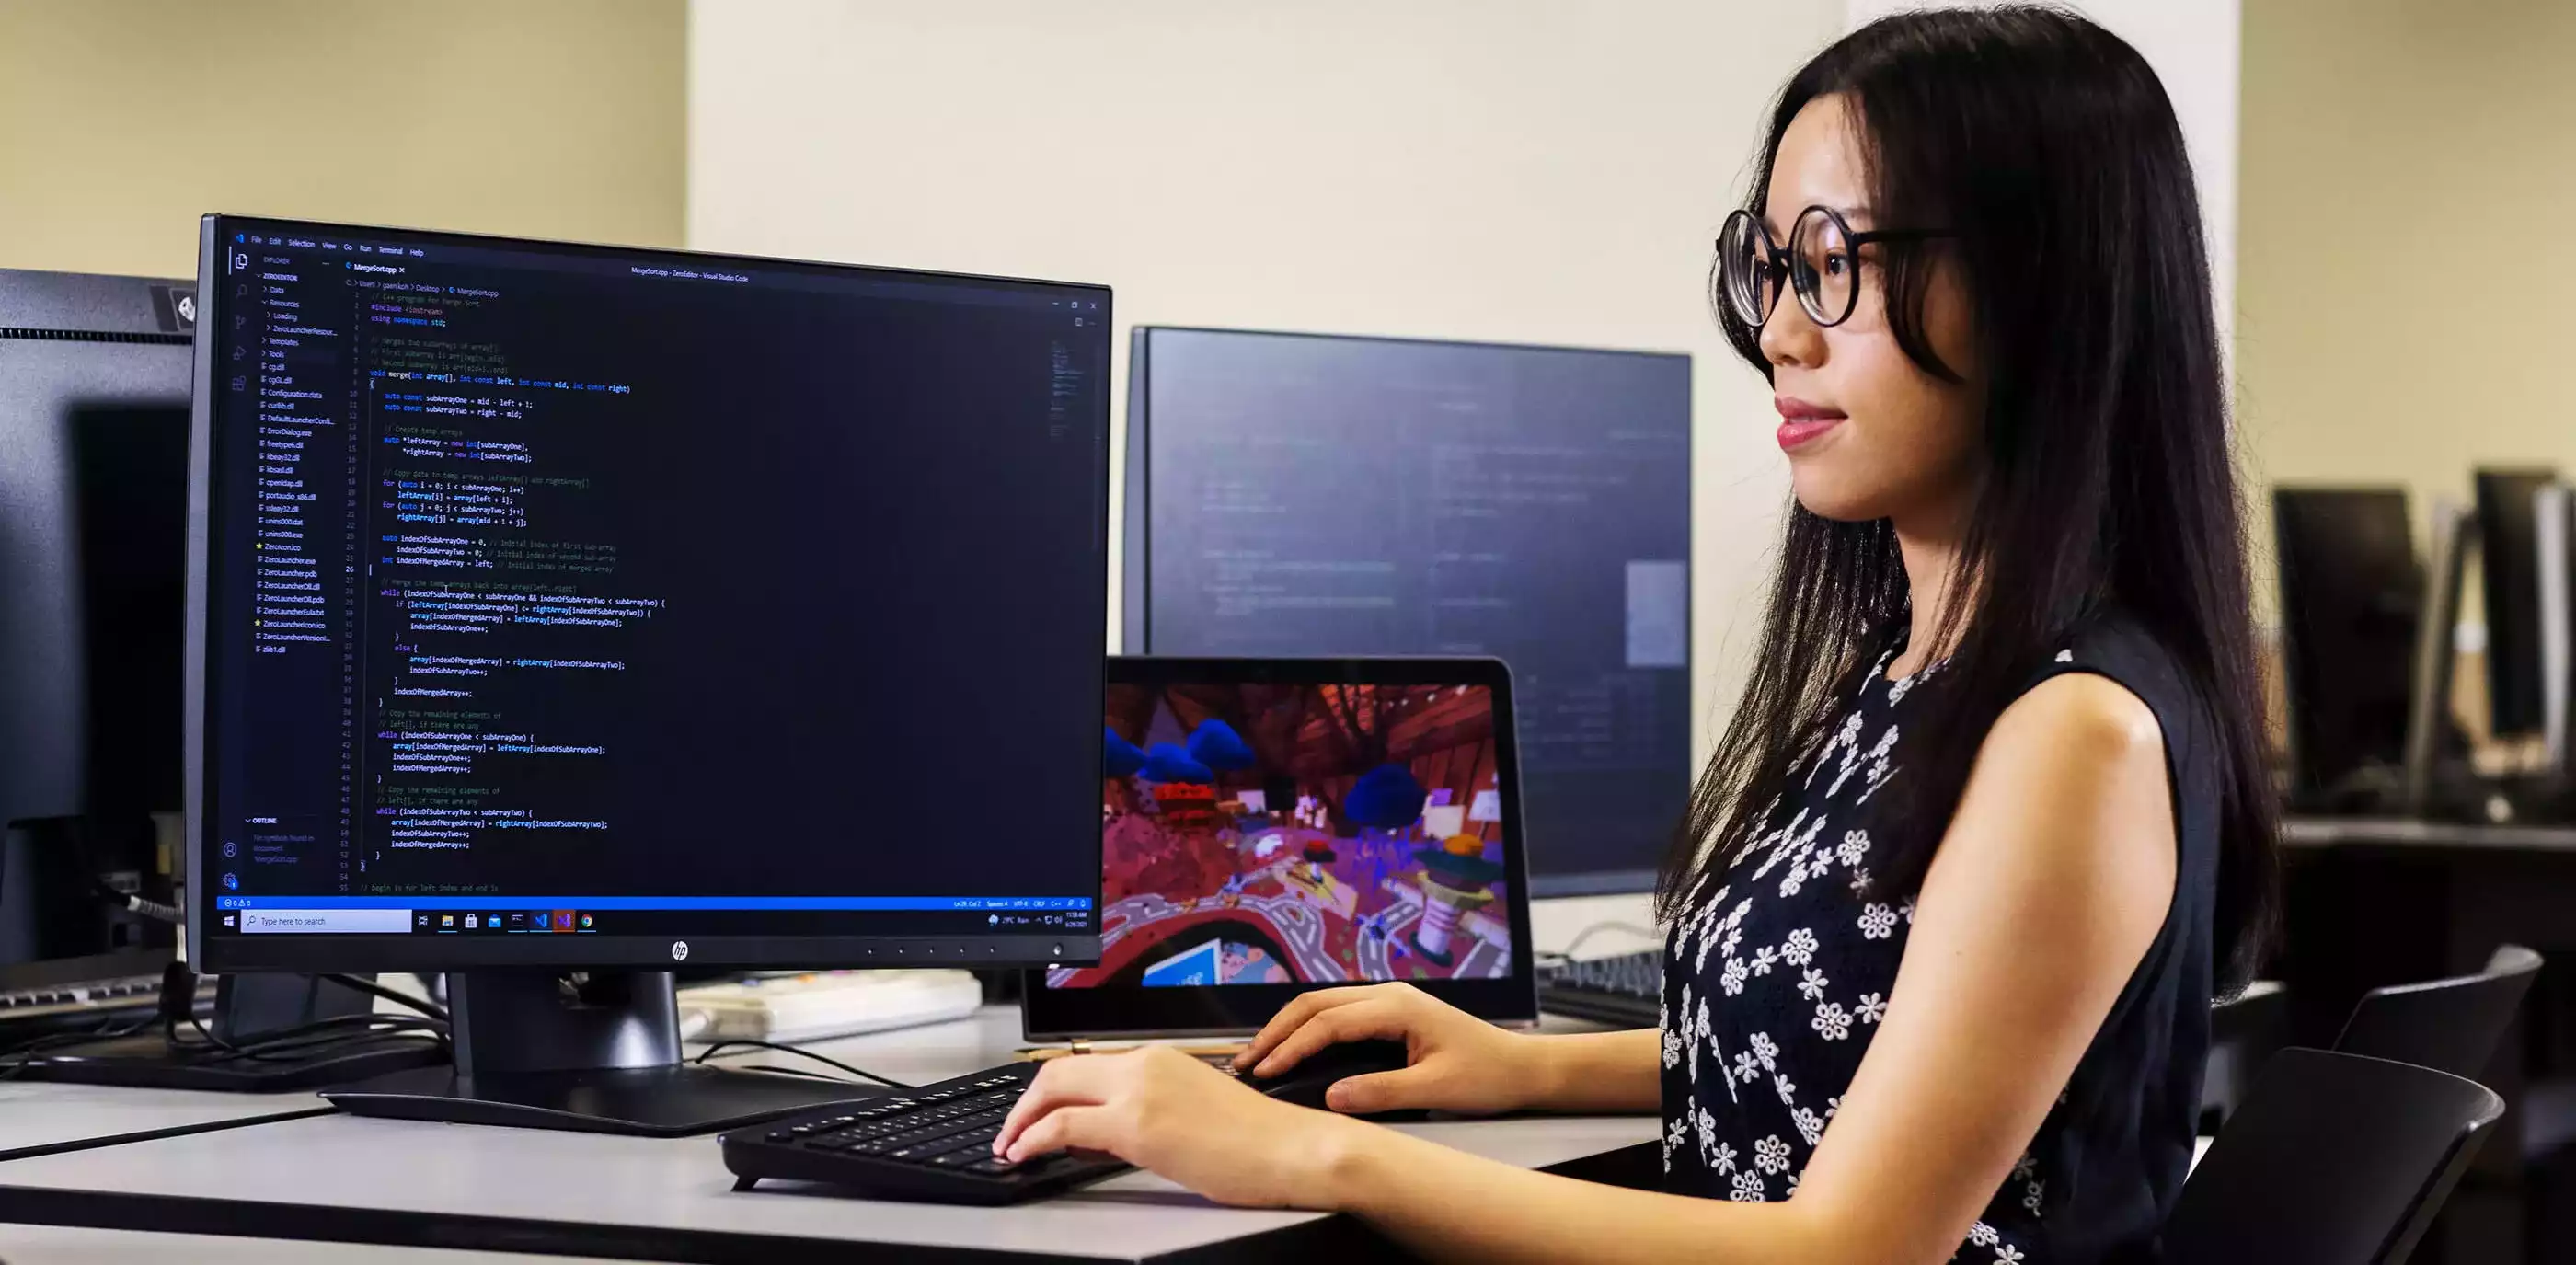
Every trimester, DigiPen (Singapore) students from different degree programs come together to work on a common multidisciplinary project. These collaborative projects often take on the form of a professional-quality game or interactive simulation. Starting from their second year onward, students who work on a game project are required to craft these software applications within a custom engine that they build from scratch. This task is most often undertaken by students from the BS in Computer Science in Real-Time Interactive Simulation and BS in Computer Science in Interactive Media and Game Development degrees.
A game engine is the software framework that developers use to create video games and simulations. It powers the game and allows the development team to build and include features like graphics rendering (the ability to display 2D or 3D graphical assets and environments), physics simulation, artificial intelligence, collision detection, memory management, and more. These days, most modern games are developed with the use of a third-party engine such as Unity or Unreal. By creating their own custom engines, students gain valuable insights into the technology that makes video games possible.
Creating a custom engine is not only a good way for computer science students to put their programming skills into practice; it challenges the development team to be creative while working within a defined set of constraints. Here’s what goes into building these custom engines from scratch.
Step 1: Learn a programming language
At DigiPen (Singapore), computer science students are taught C/C++ programming from their first trimester on campus. C/C++ is a popular language for custom engines as it provides full control over the memory resources available and how they are managed. Careful memory management is especially important for optimizing the performance of demanding software like real-time simulations and games. Thus, it is ideal for students to learn to build their very first custom game project engines in C/C++ to better understand the low-level programming concepts necessary for building performant software.
Students start off by writing code using nothing other than a C/C++ compiler and notepad. Once familiar with the foundations, they learn how to program using an integrated development environment (IDE) software package such as Microsoft Visual Studio. This is standard industry software that is used in most software development studios for working together on a large shared codebase.
Step 2: Data management
After learning the fundamentals of programming, the next step is data organization. Understanding how to sort and manage data determines how efficiently information can be organized and processed. This includes learning how to implement the most appropriate systems, logic flows, data structures, and algorithms for a given problem or situation. Having a solid understanding of how to express complex data relationships will allow students to better manage these datasets within their custom engine so that the game or simulation will run smoothly.
Step 3: Computer graphics
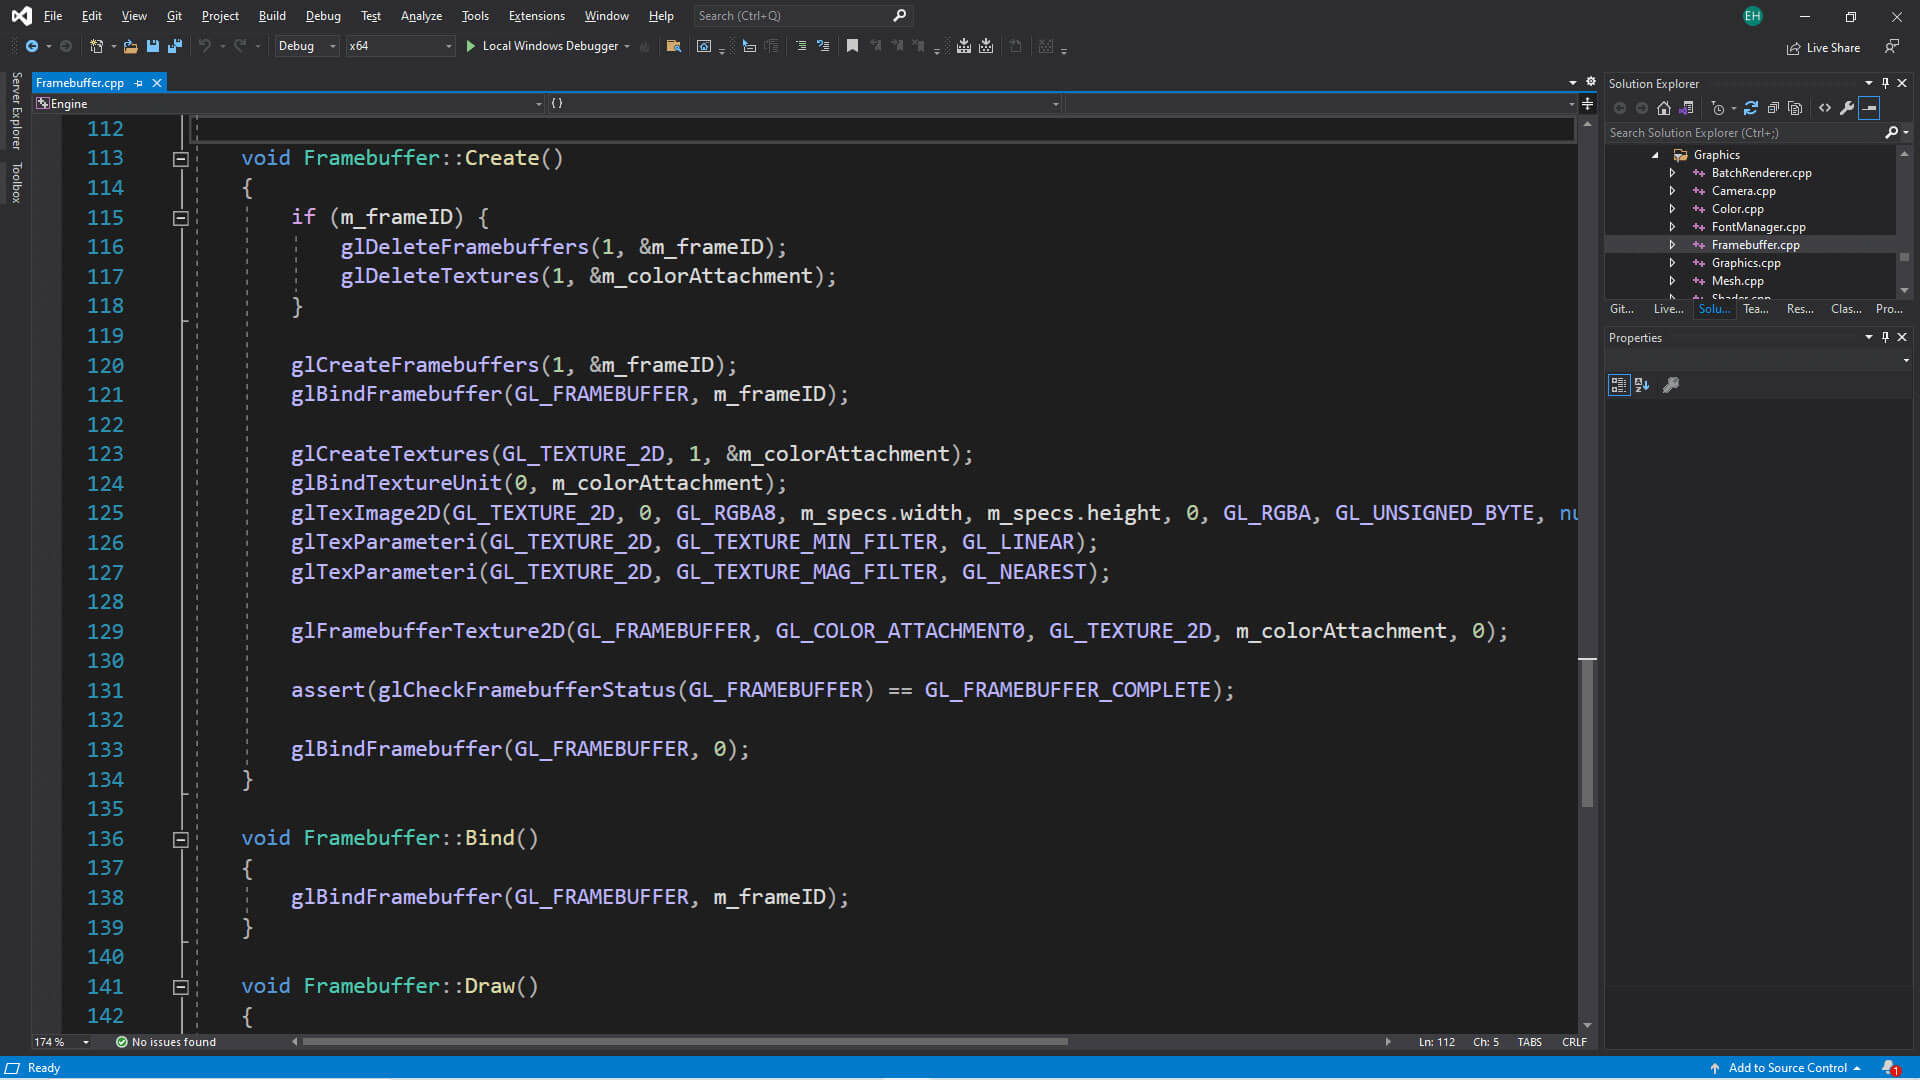
Now that a student has learned how to efficiently organize data, the next step involves learning how to effectively render information in the form of images on a screen. Computer graphics modules focus on the process of turning mathematical representation of objects into the interactive and realistic 2D and 3D graphics that we see when playing a game. Students will also learn how to work with graphics processing units (GPUs) to rapidly render out images to a device’s display.
At this step, a developer will integrate GPU libraries like OpenGL, DirectX, or Vulkan into their game engines. These massive libraries serve as the interface to interact with the GPU hardware, tapping into their powerful parallel processing architecture to churn out rendered images at breakneck speeds. To create a functional graphics system, students will need to have good knowledge in computer graphics algorithms and rendering techniques, along with familiarity in one of these GPU libraries.
Step 4: Implement math, physics, and game simulation functions
With a solid data management infrastructure in place, the next step in building a custom engine is to develop code that will allow these data to be updated in real-time. This gives the custom engine functions that can introduce movement to the game or simulation to make it come alive. Examples include character motion, collision techniques (so that game elements respond correctly when they interact), and other physics simulation systems such as gravity.
From a player’s point of view, this is where they can begin to see characters and objects moving and interacting with each other inside the basic simulation, according to their controls. All this is possible because of the complex math and rules systems programmed into the engine.

Step 5: Implement game logic and systems
This step deals with improving the custom engine by creating user-friendly tools for team members to work with. Upgrading a basic simulation program into a multifunctional game engine depends on the project’s needs and requirements. Developers will need to augment the engine to accommodate these specific needs.
In some cases, the tools and systems needed for a game engine will be fairly standard. For example, students will eventually need to develop features in the custom engine that enable artists and designers to import their assets — including objects, characters, and surface textures — into the game itself. Further, these assets will need to integrate correctly within the game’s logic and systems.
At the end of this stage, the team should have a workable game engine that can support a fully functional game.
Step 6: Efficiency and optimization
Finally, this last step is where developers can fix bugs and issues to ensure software stability. Now that they have something up and running and available to test, this is a good time to optimize the engine code to improve performance for their game or simulation. This step is especially important for games with large worlds and plenty of characters roaming around, as a highly efficient game engine is required to handle the immense processing load to simulate such a world. Since these projects need to run smoothly for a good user experience, developers have to really optimize the engine to ensure the game is fully playable at a standard refresh rate of 60 frames per second.
As you can see, building a custom engine from scratch is no easy feat. Doing so usually spans two trimesters where the first is spent on engine building, engine interface, and coming up with a workable prototype of the project. During the second trimester, students then focus on polishing and optimizing the software once all the features have been implemented and assets have been imported into the game or simulation. At the end of the day, students learn to become competent software developers with strong problem-solving skills. To find out more about what makes DigiPen (Singapore)’s approach to computer science unique, check out our animated comic.